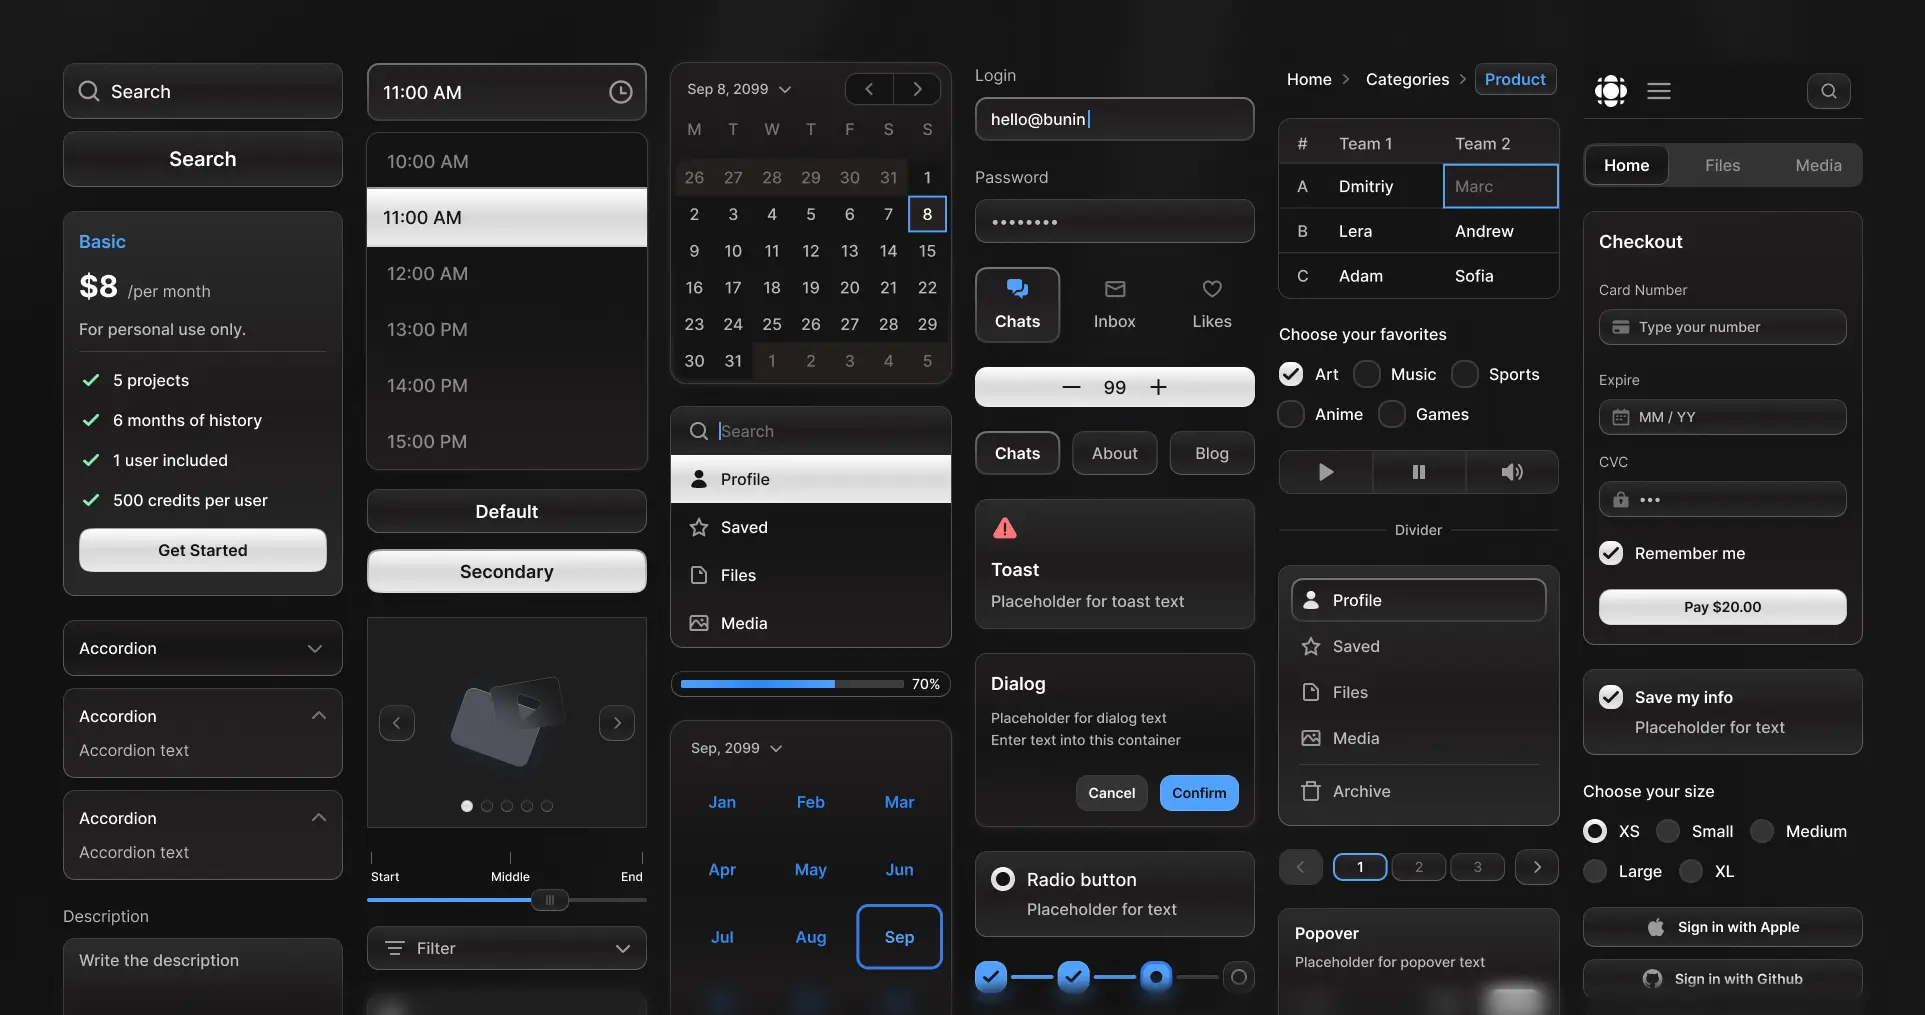
At Frames X, we've discovered a new, powerful way to build tables using parametric Figma variables. This method enables our tables to be fully responsive and 100% scalable across various scenarios and layouts.
Additionally, we've created a Parametric Tables Template with everything you need to get started with this new approach to designing tables in Figma.
Click the link below to duplicate the file and open it in Figma. Then, come back to learn more from this quick tutorial.
→ Download Figma Tables Template
Setting up Variables for Figma Tables
For this approach, we'll use Parametric Variables to create a scale of universal variable parameters that will control how our Table resizes on the canvas.
In case you've missed it, we've introduced parametric component design in our previous article: Parametric Figma Components.
But let's get back to our Tables and create a new collection and name it 'Table' (or anything else you prefer).

Base Variables for Tables in Figma
Now, let's add Base Variables. Base variables will serve as universal size parameters for our Table elements. These parametric variables will apply to the Width × Height of elements and the Font Size of the text.
For Base variables, we'll use a range from 1 to 6, with the addition of two Text Size variables specifically for controlling small and large text sizes of the table.

Why use the 1 to 6 range?
Because it's the minimum amount of parameters required to make our tables fully responsive across three main breakpoints: Desktop, Tablet, and Mobile.
For these breakpoints, we'll create three size modes: Large, Medium, and Small. Of course, you can expand this structure with additional variables and modes as your project requires.
Spacing Variables for Tables in Figma
For our Table to be truly resizable, we will also require Spacing Variables.
Spacing variables are another important parameter that will help maintain consistent spacing when the table is resized.
We'll use a similar range with values from 1 to 5 to create it. These variables will define gaps and paddings for our table elements.

Column variables for Tables in Figma
When building tables in Figma, columns offer the most consistent and reliable structure for table layouts. Building tables with columns gives us precise control over both the content and the size of the table. For that purpose, we will require Column Variables.
For columns, we'll create a scale from 1 to 7. We'll be using these variables to manage column widths across the table.
Column variables will define the size of individual columns, helping us limit their resizing options to a controlled range, ensuring the Table content looks exactly as intended in every mode.

Why Columns Instead of Rows or Grids for Tables?
Columns make table design easier because they provide consistent width control and align better with how content is structured and resized across layouts. They also allow for more predictable behavior, especially when working with dynamic data.
Columns tend to use smaller numbers, e.g., column size =
150pxvs. row size =1000px.
Variable Scoping in Figma
To help us assign and work with Table Variables, we can set the correct scoping for each variable we create in Figma. Scoping variables is a technique that will help us correctly assign variables and make our tables more user-friendly when operating.
For Size variables, use the Width and Height scope.
For Text Size variables, use the Text content and Font size.
For Spacing variables, use the Gap scope.
For Column variables, use the Width and Height scope.

Setting up Table Components in Figma
Now that we have our variables ready, let's assign them to the table components.
We'll be using Frames X Components, as they already support the necessary Color Mode and Text properties. You can also access them from the Parametric Figma Tables File.
The core building blocks of our tables are Cell and Cell Header components. These components nest various table cell variants, making it easy to stack different types of content within the table.

However, in order for our components to react to variables, we first need to assign variables to them.
Start by assigning Size Variables (Width × Height) to the basic UI elements size, such as checkboxes, icons, badges, and the cell component itself. This will enable the components to adjust according to the Table modes we've created before (Desktop, Tablet, Mobile).

Do the same for gaps and paddings by assigning Spacing Variables to ensure elements are spaced correctly across different breakpoints.

See the Figma file components to better understand where you should apply variables and where you should not.
→ Download Figma Tables Template
Creating a Responsive Table Layout in Figma
Once our components are fully charged with variables, we can assemble the layout for our Table.
Create a vertical Auto Layout stack with the cell components. And duplicate it to match the number of columns you need.

Add a Cell Header component as a separate top-pinned group and place it inside the Table container. Set the Width to 'Fill' and the Height to 'Fixed.'
Set all columns and cells to Fill × Fill for full flexibility.

Customizing Table Contents with Figma Components
Using Figma variants, we can now easily customize and change the content of individual columns. Use previously created Cell components to update content column by column.
Bonus Tip: You can use the Figma AI feature: "Rewrite this..." to quickly rewrite the table's text content by selecting multiple cells with the SHIFT key.
Apply Column Variables to the Table Contents
Now that we know our content, we can configure our table to behave like a real spreadsheet, ensuring that important content is not cut off at specific breakpoints.
We can make certain columns of our tables fixed by using previously created Column Variables.
To apply column variables, choose the header and the table column, and choose a property from the range of 6, matching the size of the content inside the column.
Apply column variable to the upstanding header to ensure the content always stays at the predefined size and position.

Which columns should use fixed-width Column variables?
Here's a simple rule: If a column contains important information that should always be visible, assign it a fixed size using a variable and define how it behaves across different breakpoints.
If the content is less critical and can be truncated, set that column to Fill.
Conclusion
By using parametric components and size mapping based on column content, we can design advanced and complex data tables in Figma while minimizing the need for redundancy in variants.
This method provides a solid foundation for creating more truly flexible Figma table layouts. Download the Figma Tables Template to help you get started with parametric design and serve as a trustworthy foundation.


